
Click on image to view full size
I use PSP 7, but assume this can be made with any version
Supplies:
PTU scrap kit "Dreams Take Flight"
by Nikki of creativeintentionz
which you can purchase here
Tube of choice
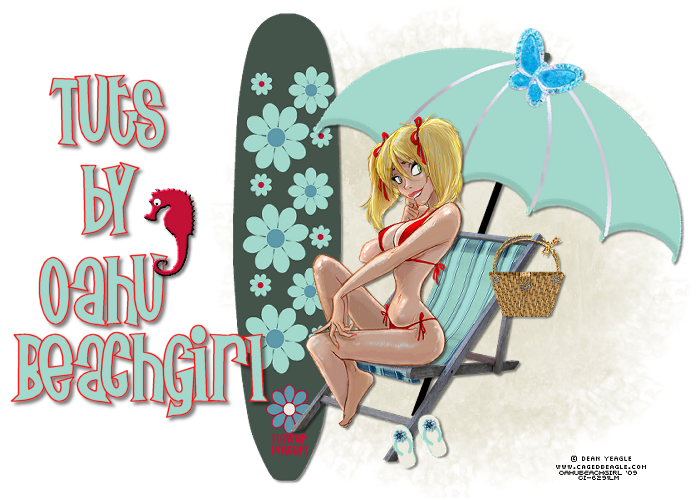
I used the wonderful art Dean Yeagle
you must have a license to use his work
which you can purchase at CILM
Template 1 by Marcia at Babes Designz,
you can snag it at her blog here
She has lots of awesome templates,
be sure to check them out!
Font of choice, I used MA Sexy
Optional plug ins:
Xero porcelain
Xenofex 2 Constellation
~~~*~~~
OK, let's get started!
Open your template>duplicate>close original.
Delete copyright layer, word art
and girls on film layers.
Re-size to 800 x 800>flood fill white
Select your frames layer>select all
Float>defloat
Copy & paste paper 15 as new layer
Selections>invert>delete>
copy>paste your tube
Delete>select none
Delete original template layer
Apply drop shadow to frame layer
Apply the same steps to rectangle
using paper 13 and the ellipse layer
using paper 11
Now lets dress this up!
Copy>paste doodle 3
add drop shadow
Copy>paste String 3 over ellipse layer
but under tube and frame layers
Copy>paste Sparkle 2 on ellipse layer
I added a few layers of Cluster stars 1
and Cluster stars 2, to which I added noise
and drop shadowed them all
Open sheep 1> re-size 50%
copy>paste on top of circle>
drop shadow>duplicate layer
3 times and arrange them around
in a circle
(you will need to rotate them each a bit)
Once you have them arranged,
close all your layers
except for the sheep>
merge visible>
duplicate layer>mirror>flip>
open all the layers back up.
You should now have a layer of
sheep around the tag.
I added my text "Sweet Dreams" and
applied Xenofex 2 > constellation to the words
And I went back and applied Xero Porcelain
to the sheep and frame with tube layers
Now re-size your tag to 600 X 600.
Add your name if you'd like,
and your copyright if needed,
delete your white background layer
save as a PNG and you're done!
I hope you enjoyed trying my tut!
I use PSP 7, but assume this can be made with any version
Supplies:
PTU scrap kit "Dreams Take Flight"
by Nikki of creativeintentionz
which you can purchase here
Tube of choice
I used the wonderful art Dean Yeagle
you must have a license to use his work
which you can purchase at CILM
Template 1 by Marcia at Babes Designz,
you can snag it at her blog here
She has lots of awesome templates,
be sure to check them out!
Font of choice, I used MA Sexy
Optional plug ins:
Xero porcelain
Xenofex 2 Constellation
~~~*~~~
OK, let's get started!
Open your template>duplicate>close original.
Delete copyright layer, word art
and girls on film layers.
Re-size to 800 x 800>flood fill white
Select your frames layer>select all
Float>defloat
Copy & paste paper 15 as new layer
Selections>invert>delete>
copy>paste your tube
Delete>select none
Delete original template layer
Apply drop shadow to frame layer
Apply the same steps to rectangle
using paper 13 and the ellipse layer
using paper 11
Now lets dress this up!
Copy>paste doodle 3
add drop shadow
Copy>paste String 3 over ellipse layer
but under tube and frame layers
Copy>paste Sparkle 2 on ellipse layer
I added a few layers of Cluster stars 1
and Cluster stars 2, to which I added noise
and drop shadowed them all
Open sheep 1> re-size 50%
copy>paste on top of circle>
drop shadow>duplicate layer
3 times and arrange them around
in a circle
(you will need to rotate them each a bit)
Once you have them arranged,
close all your layers
except for the sheep>
merge visible>
duplicate layer>mirror>flip>
open all the layers back up.
You should now have a layer of
sheep around the tag.
I added my text "Sweet Dreams" and
applied Xenofex 2 > constellation to the words
And I went back and applied Xero Porcelain
to the sheep and frame with tube layers
Now re-size your tag to 600 X 600.
Add your name if you'd like,
and your copyright if needed,
delete your white background layer
save as a PNG and you're done!
I hope you enjoyed trying my tut!


