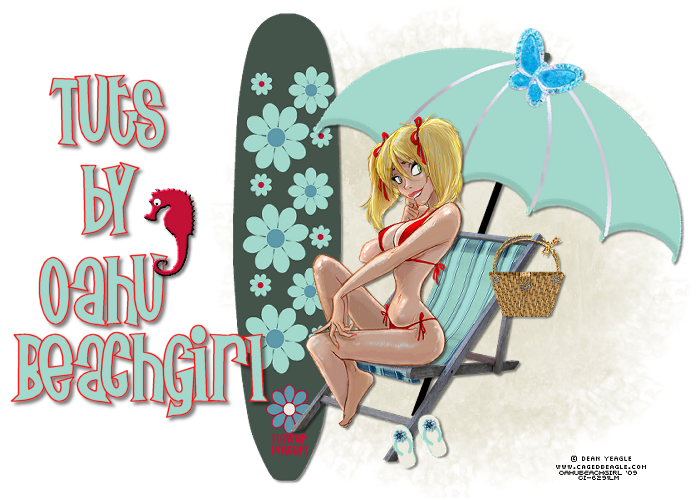
Click on image to view full size
I use PSP 7, but assume this can be made with any version
Supplies:
2 tubes of choice
I used the wonderful art of
Rion Vernon's PinUp Toons,
you must have a license to use his work
which you can purchase at CILM
Heat Wave Scrap kit by Jessica of Gothic Inspirations,
which you can find here
It will only be FTU until September 1st!
After that you will be able
to purchase it on her blog
 Be sure to check out the rest of the blog train too!
Thank you Jessica!
Mask of Choice
Font of choice
~~~*~~~
Grab a cool glass of lemonade
and have some fun!
This one is short and easy!
I am showing the papers I used,
but you may want to
change them to whatever best suits
the tubes you are using!
Open new image 850 x 850 (we will re-size later)
flood fill white
Copy>paste frame 2 as new layer
With the magic wand tool,
select inside the left side of the frame
modify>expand by 3
copy>paste paper 2 as new layer
selections>invert>delete
drag below frame layer
Now do the same steps on the right side
but paste paper 11
Copy>paste your tubes of choice
Add dropshadow
copy>paste grass as new layer
at bottom of your tubes
(see my tag for placement)
Now to embellish the bottom of the frame!
Here's what I used,
and I added a drop shadow to them all:
Flower stitched>re-sized 50%
Flower little
Bee>re-sized 50%
Bow 5>re-sized 50%
Stitches
Now copy>paste paper 2
above your white background layer
Apply your mask of choice>delete mask
Re-size your tag to 600 x 600
add your name-mine looked best at the top
and I added the butterfly wire
and bee at the top too!
add your copyright if needed
delete your white layer
and save as a PNG and your finished!
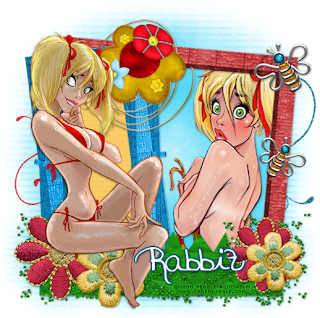
How cute is this!!! Rabbit, one of our
"Elite 100" Members at
Graphic Groupies made this
using my tut!! I Love it Rabbit!!

I use PSP 7, but assume this can be made with any version
Supplies:
2 tubes of choice
I used the wonderful art of
Rion Vernon's PinUp Toons,
you must have a license to use his work
which you can purchase at CILM
Heat Wave Scrap kit by Jessica of Gothic Inspirations,
which you can find here
It will only be FTU until September 1st!
After that you will be able
to purchase it on her blog
 Be sure to check out the rest of the blog train too!
Thank you Jessica!
Mask of Choice
Font of choice
~~~*~~~
Grab a cool glass of lemonade
and have some fun!
This one is short and easy!
I am showing the papers I used,
but you may want to
change them to whatever best suits
the tubes you are using!
Open new image 850 x 850 (we will re-size later)
flood fill white
Copy>paste frame 2 as new layer
With the magic wand tool,
select inside the left side of the frame
modify>expand by 3
copy>paste paper 2 as new layer
selections>invert>delete
drag below frame layer
Now do the same steps on the right side
but paste paper 11
Copy>paste your tubes of choice
Add dropshadow
copy>paste grass as new layer
at bottom of your tubes
(see my tag for placement)
Now to embellish the bottom of the frame!
Here's what I used,
and I added a drop shadow to them all:
Flower stitched>re-sized 50%
Flower little
Bee>re-sized 50%
Bow 5>re-sized 50%
Stitches
Now copy>paste paper 2
above your white background layer
Apply your mask of choice>delete mask
Re-size your tag to 600 x 600
add your name-mine looked best at the top
and I added the butterfly wire
and bee at the top too!
add your copyright if needed
delete your white layer
and save as a PNG and your finished!
How cute is this!!! Rabbit, one of our
"Elite 100" Members at
Graphic Groupies made this
using my tut!! I Love it Rabbit!!


0 comments:
Post a Comment